
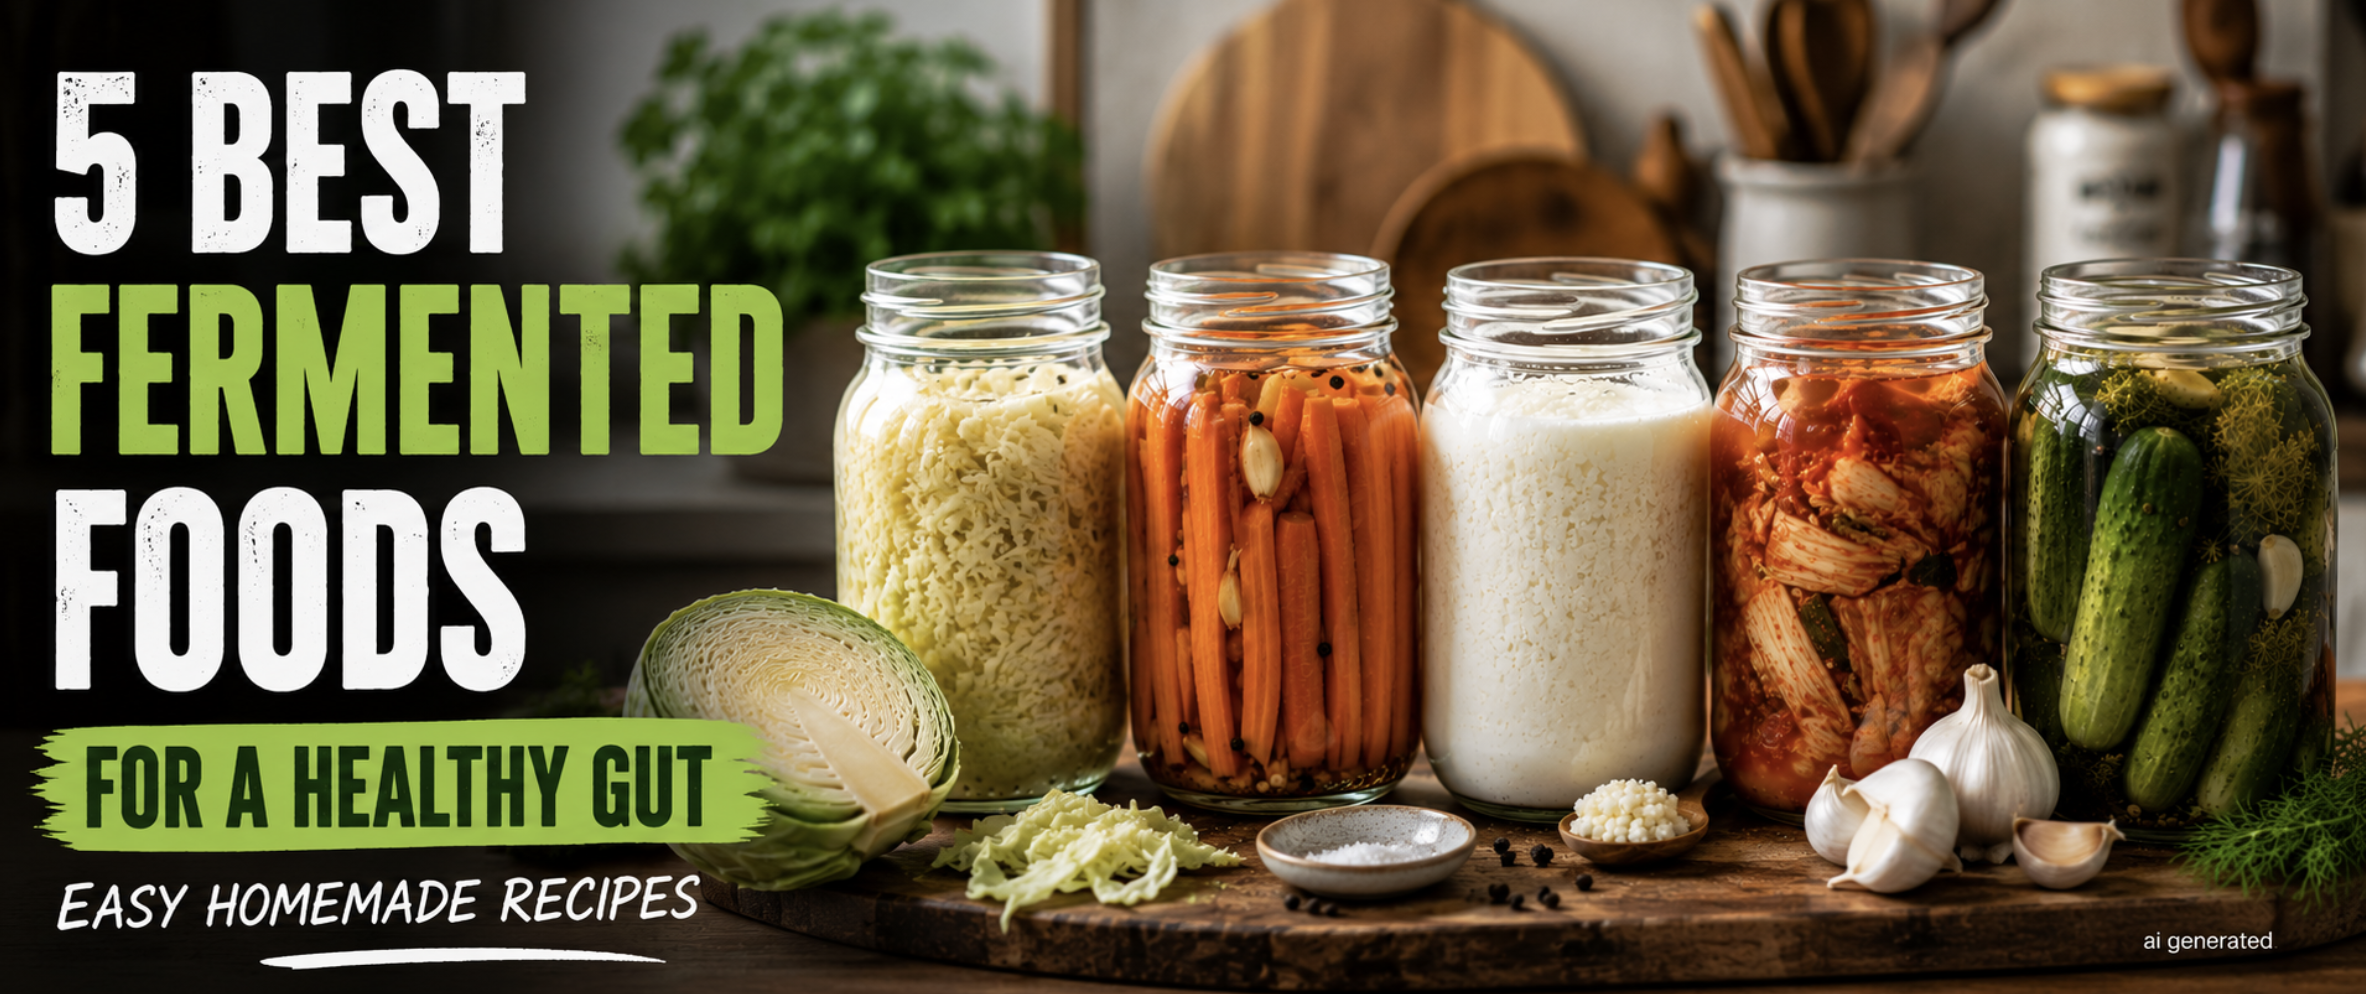
When I first started learning more about gut health, I kept seeing the same two words pop up everywhere: fermented foods. They were in articles, in podcasts, in random comments under recipe posts. Everyone seemed to agree that fermented foods were worth trying, but honestly, for a while I had no idea what people actually meant by it.
Was it just pickles? Was it yogurt? Did I need special equipment, a science degree, or a basement full of jars to get started? I didn’t know, and that confusion is exactly why I put off trying fermentation for way longer than I probably needed to.
So let’s start simple. Fermentation is a traditional food preparation method where microorganisms — usually beneficial bacteria or yeast — transform ingredients over time. That’s really the whole idea. Cabbage becomes sauerkraut. Milk becomes yogurt or kefir. Cucumbers become naturally fermented pickles. The microorganisms feed on natural sugars in the food, and in the process, they create the tangy flavors and textures fermented foods are known for.
This is part of why fermented foods are so often discussed alongside digestion and the gut microbiome. Many fermented foods contain live cultures, and eating foods with live cultures is one of the ways people choose to support a diverse, balanced gut environment. I want to be upfront, though: fermented foods aren’t a cure for anything, and they’re not a shortcut to perfect digestion. They’re simply a category of foods that many people find can be a helpful part of an overall balanced diet.
One of the biggest surprises for me, once I actually started experimenting, was realizing that fermented foods don’t have to be complicated or expensive. I expected special equipment, precise temperatures, and a steep learning curve. Instead, most of what I make now uses a mason jar, some salt, and whatever vegetables or dairy I already have in the kitchen. That’s it.
So if you’ve been curious about fermented foods for gut health but weren’t sure where to start, this post is for you. Below are five of the best fermented foods for a healthy gut that you can realistically make at home, even if you’ve never fermented a single thing in your life.
1. Homemade Sauerkraut
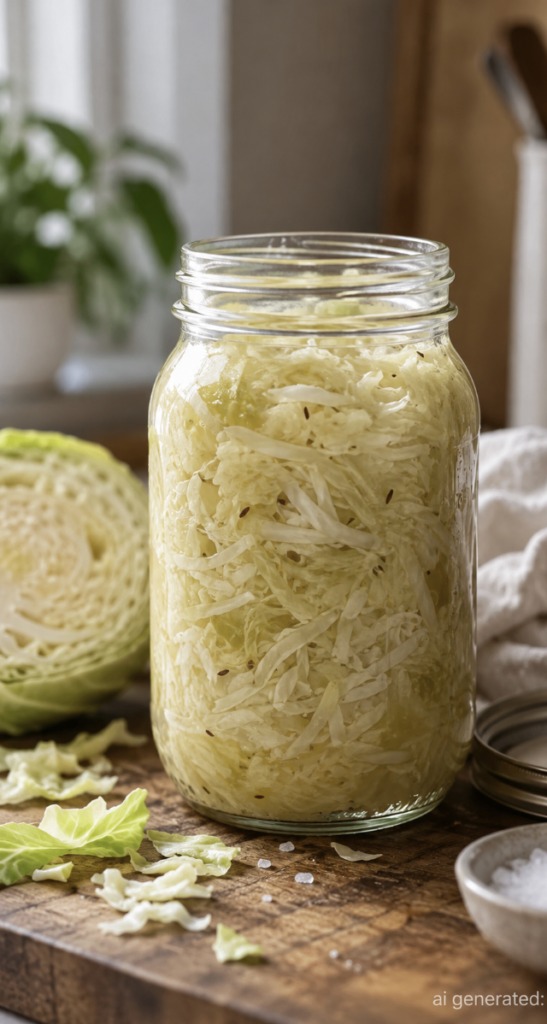
Sauerkraut is probably the most classic entry point into fermentation, and it’s the one I’d recommend starting with if you’re brand new to this.
What it is: Sauerkraut is finely shredded cabbage that’s fermented in its own salted juices. That’s genuinely the whole recipe. No vinegar, no cooking — just cabbage, salt, and time.
Why people include it in a gut-friendly diet: Because it’s made through natural fermentation rather than pickling with vinegar, homemade sauerkraut typically contains live bacterial cultures (as long as it isn’t pasteurized afterward). It’s also an easy way to add more vegetables and fiber to your plate.
When I first tried this, I expected it to be much more complicated. I pictured crocks, weights, temperature charts — the whole deal. In reality, it took me about fifteen minutes of hands-on work, and then I just left it on my counter.
Ingredients:
- 1 medium head green cabbage (about 2 lbs / 900g)
- 1 tablespoon non-iodized salt (sea salt or kosher salt)
Equipment needed:
- Large mixing bowl
- Sharp knife or mandoline
- A clean quart-sized mason jar
- A smaller jar, fermentation weight, or a clean cabbage leaf to keep everything submerged
Instructions:
- Remove the outer leaves of the cabbage and set one aside. Slice the rest into thin strips.
- Place the shredded cabbage in a large bowl and sprinkle the salt over it.
- Massage and squeeze the cabbage with clean hands for 5–10 minutes, until it releases a good amount of liquid and feels noticeably softer.
- Pack the cabbage tightly into your jar, pressing down firmly so the liquid rises above the cabbage.
- Fold the reserved outer leaf and place it on top, or use a small jar/weight to keep everything pushed below the brine.
- Cover loosely with a lid (not fully sealed, to allow gas to escape) and leave at room temperature, out of direct sunlight.
- Press down once a day to keep the cabbage submerged.
Fermentation time: 5–10 days at room temperature, depending on how tangy you like it.
How to know when it’s ready: Taste it after day 5. It should smell pleasantly sour and tangy, not sharp or rotten. Once it tastes the way you like, move it to the fridge.
Storage: Keep it in the refrigerator in a sealed jar, always submerged in its brine.
How long it keeps: Typically several months in the fridge, though the flavor keeps developing over time.
Easy ways to eat it: Add a spoonful to lunch bowls, sandwiches, avocado toast, or alongside eggs.
Beginner mistakes to avoid: Not using enough salt, not massaging the cabbage long enough to release liquid, and letting cabbage float above the brine.
Food safety: The cabbage must stay fully submerged beneath the brine at all times — this is what keeps unwanted bacteria from growing. If you ever notice mold, an unpleasant rotten smell, sliminess, or unusual discoloration like pink or black spots, don’t taste it — just discard the batch and start fresh.
2. Fermented Carrots
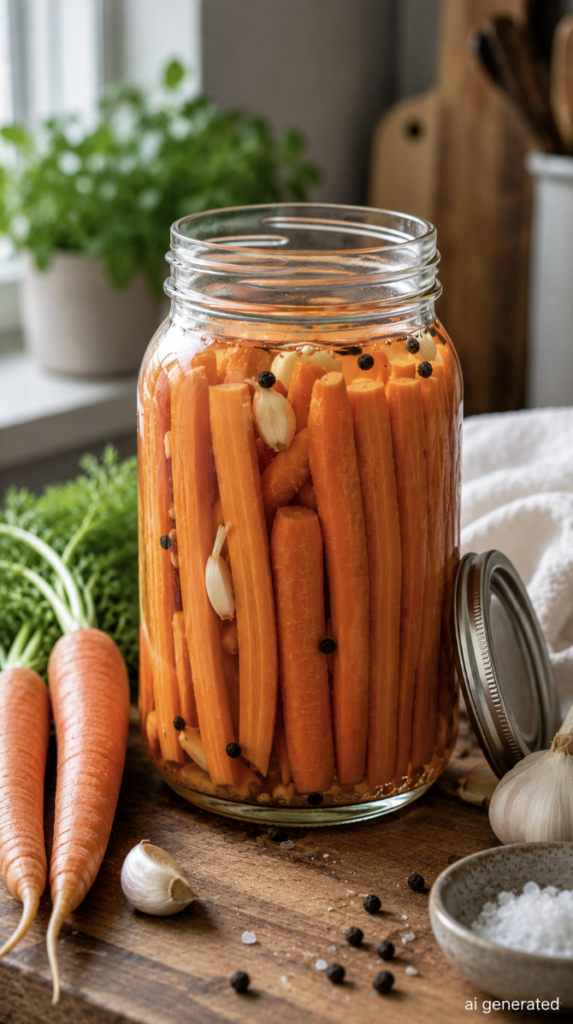
If sauerkraut goes well, fermented carrots are a natural next step. They’re crunchy, slightly sweet, and one of the easiest vegetables to ferment.
What it is: Carrot sticks or rounds submerged in a simple saltwater brine and left to ferment.
Why people include it in a gut-friendly diet: Like sauerkraut, fermented carrots develop live cultures through the fermentation process, and they’re a simple way to add fermented vegetables into meals without a strong sour flavor.
What surprised me most was how few ingredients I actually needed here. It’s basically just carrots, water, and salt.
Ingredients:
- 4–5 medium carrots, peeled and cut into sticks or rounds
- 2 cups water
- 1 tablespoon non-iodized salt
- Optional: 1 garlic clove, a few peppercorns, or a slice of fresh ginger
Equipment needed:
- A pint or quart mason jar
- A weight to keep carrots submerged (a smaller jar filled with water works well)
Instructions:
- Dissolve the salt completely in the water to make your brine.
- Pack the carrot sticks tightly into the jar, along with garlic or spices if using.
- Pour the brine over the carrots until fully covered, leaving about an inch of space at the top.
- Weigh the carrots down so they stay under the brine.
- Cover loosely and leave at room temperature, away from direct sunlight.
- Check daily to make sure carrots remain submerged.
Fermentation time: 5–7 days.
How to know when it’s ready: The carrots should taste pleasantly tangy and the brine slightly cloudy. If it smells fresh and sour rather than off-putting, it’s ready.
Storage: Refrigerate in the sealed jar, submerged in brine.
How long it keeps: Around 1–2 months in the fridge.
Easy ways to eat it: As a crunchy snack, added to grain bowls, or served alongside sandwiches.
Beginner mistakes to avoid: Using iodized table salt (it can interfere with fermentation), cutting carrots too thick so they take longer to ferment evenly, and skipping the weight.
Food safety: Just like sauerkraut, carrots need to stay under the brine the entire time. If you see mold on the surface, notice a foul or rotten smell, or the brine turns unusually discolored, throw the batch out rather than trying to salvage it.
3. Milk Kefir or Water Kefir
Kefir was one of the fermented foods I was most nervous to try, mostly because “kefir grains” sounded intimidating. It turned out to be one of the lowest-effort ferments on this list.
What it is: Kefir is a fermented drink made by adding kefir grains (a cluster of bacteria and yeast) to either dairy milk or sugar water. Milk kefir has a tangy, drinkable-yogurt texture, while water kefir is lighter and slightly fizzy.
Why people include it in a gut-friendly diet: Kefir grains contain a wide variety of bacterial and yeast strains, which is part of why kefir is often mentioned as one of the more diverse sources of live cultures among fermented foods.
I personally like adding a small serving alongside lunch rather than drinking a huge glass at once — it’s rich, and a little goes a long way when you’re just starting out.
Ingredients (milk kefir):
- 1 tablespoon active milk kefir grains
- 2 cups whole milk (avoid ultra-pasteurized if possible)
Equipment needed:
- A clean glass jar
- A plastic or wooden spoon (avoid metal touching the grains repeatedly)
- A breathable cloth or coffee filter and rubber band
Instructions:
- Place the kefir grains in your jar and pour the milk over them.
- Cover with a breathable cloth secured with a rubber band — not an airtight lid.
- Leave at room temperature, out of direct sunlight, for 24–48 hours.
- Gently stir or shake once a day.
- Once thickened and slightly tangy, strain out the grains using a plastic strainer.
- Reserve the grains to start your next batch, and refrigerate the finished kefir.
Fermentation time: 24–48 hours, depending on room temperature.
How to know when it’s ready: It should be noticeably thicker than milk and taste pleasantly tangy, similar to drinkable yogurt.
Storage: Keep finished kefir refrigerated in a sealed jar.
How long it keeps: About 1–2 weeks in the fridge.
Easy ways to eat it: Blended into smoothies, poured over granola, or used in salad dressings.
Beginner mistakes to avoid: Using an airtight lid (it needs to breathe), leaving it too long so it separates and becomes overly sour, and forgetting to strain out the grains before drinking.
Food safety: Fresh milk kefir should smell tangy and slightly yeasty, never sour in a rotten or off way. If it develops mold, an unpleasant smell, or unusual coloring, discard it and start with fresh grains if you have a backup.
4. Homemade Yogurt
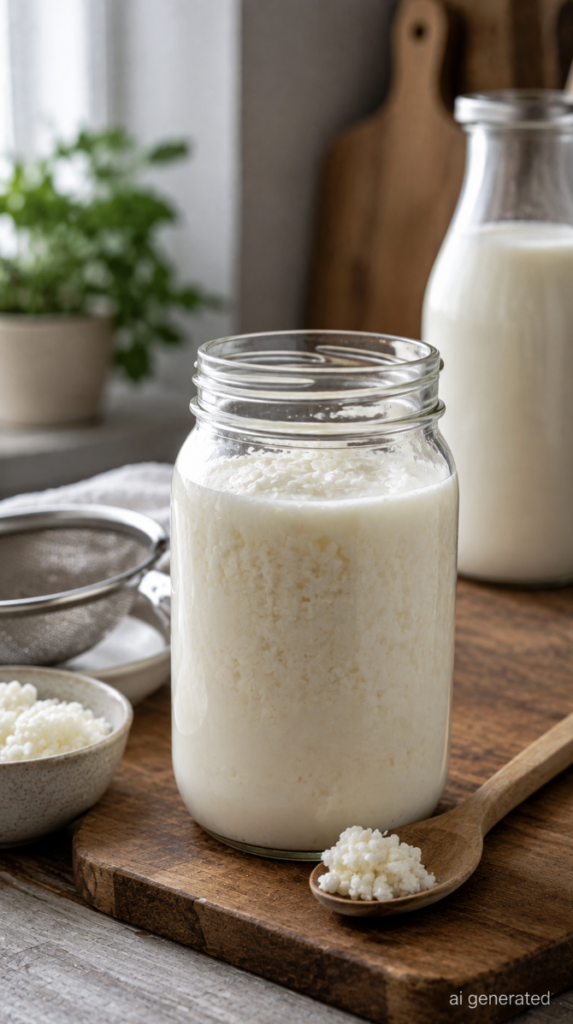
Yogurt is probably the most familiar fermented food on this list, but making it yourself is genuinely easier than most people expect.
What it is: Yogurt is milk fermented with live bacterial cultures until it thickens and develops that characteristic tang.
Why people include it in a gut-friendly diet: Live-culture yogurt is one of the most accessible sources of probiotic bacteria for many people, and it’s easy to incorporate into everyday meals.
Ingredients:
- 4 cups whole milk
- 2 tablespoons plain yogurt with live active cultures (store-bought works fine as a starter)
Equipment needed:
- A heavy-bottomed pot
- A kitchen thermometer
- A jar or container with a lid
- A warm spot, oven with the light on, or a yogurt maker
Instructions:
- Heat the milk in a pot until it reaches about 180°F (82°C), stirring occasionally.
- Remove from heat and let it cool to about 110°F (43°C).
- Whisk in the yogurt starter until fully combined.
- Pour into your jar or container and cover.
- Keep it somewhere warm and undisturbed for 6–12 hours.
Fermentation time: 6–12 hours, depending on how tangy and thick you want it.
How to know when it’s ready: It should be thickened and taste pleasantly tangy. A little separated liquid (whey) on top is completely normal — just stir it back in.
Storage: Refrigerate in a sealed container.
How long it keeps: About 1–2 weeks.
Easy ways to eat it: With berries and a drizzle of honey, in smoothies, or as a base for savory dips.
Beginner mistakes to avoid: Adding starter to milk that’s still too hot (it can kill the cultures), disturbing the yogurt while it’s incubating, and using a starter without live active cultures.
Food safety: Properly made yogurt should smell clean and tangy. If you ever notice mold, a strong unpleasant odor, or pink or orange discoloration, discard it rather than eating it.
5. Fermented Pickles
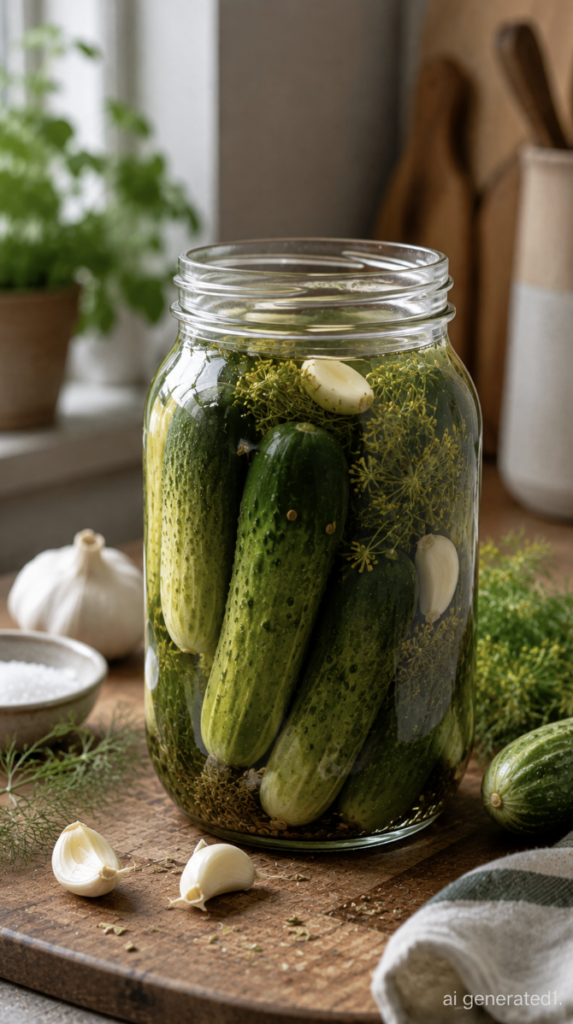
Not all pickles are fermented — many store-bought ones are simply made with vinegar. True fermented pickles are a different (and honestly more interesting) process.
What it is: Cucumbers submerged in a saltwater brine and left to ferment naturally, without vinegar.
Why people include it in a gut-friendly diet: Naturally fermented pickles develop live cultures during the fermentation process, unlike quick vinegar pickles, which don’t ferment at all.
Ingredients:
- 1 lb (450g) small pickling cucumbers
- 4 cups water
- 3 tablespoons non-iodized salt
- 2–3 garlic cloves
- 1 teaspoon dill seed or a few sprigs of fresh dill
- Optional: 1 grape or oak leaf, which some people use to help keep pickles crisp
Equipment needed:
- A quart mason jar
- A fermentation weight
Instructions:
- Dissolve the salt in the water to make your brine.
- Wash the cucumbers well and trim the blossom end (it can contain enzymes that soften pickles).
- Pack cucumbers into the jar with garlic and dill.
- Pour the brine over the cucumbers until fully submerged, leaving about an inch of headspace.
- Weigh the cucumbers down under the brine.
- Cover loosely and leave at room temperature, out of direct sunlight.
Fermentation time: 3–7 days, depending on your taste preference and room temperature.
How to know when it’s ready: The pickles should turn a duller green, taste pleasantly sour, and the brine should look slightly cloudy — that’s normal and expected.
Storage: Refrigerate in the sealed jar, fully submerged in brine.
How long it keeps: Around 1–2 months in the fridge.
Easy ways to eat it: On their own as a snack, chopped into salads, or alongside sandwiches.
Beginner mistakes to avoid: Using cucumbers that are too large or waxed, skipping the blossom-end trim, and letting pickles float above the brine.
Food safety: Fermented vegetables need to stay submerged beneath the brine the entire time to ferment safely. If you ever notice mold on top, a rotten or sulfurous smell, sliminess, or unusual discoloration, don’t try to scoop off the top and save the rest — discard the whole batch.
More Fermented Foods to Try
Once you’re comfortable with the basics, there’s a whole world of fermented foods worth exploring:
- Kimchi – A spicier, more seasoned cousin of sauerkraut, usually made with napa cabbage, chili, garlic, and ginger. Great as a side dish or stirred into fried rice.
- Tempeh – Fermented soybeans pressed into a firm cake, often used as a meat alternative in stir-fries or sandwiches.
- Miso – A fermented soybean paste used in Japanese cooking. It’s excellent whisked into salad dressings, marinades, or soup broths.
- Kombucha – Fermented sweetened tea, lightly fizzy and tangy. Easy to buy, though it can also be brewed at home with a SCOBY.
- Sourdough – Bread made using a naturally fermented starter instead of commercial yeast, giving it a distinct tang and texture.
- Fermented garlic – Whole garlic cloves fermented in brine, which mellows their sharpness and adds a mild tang. Great chopped into dressings.
- Fermented beets – Similar process to fermented carrots, with an earthy, slightly sweet result that’s beautiful in salads.
- Traditional fermented vegetables – Many cultures have their own versions, from Korean jangajji to Eastern European fermented tomatoes and peppers.
One thing worth knowing: not every commercially sold fermented product still contains live cultures once it’s been processed. Some kombuchas, pickles, and miso pastes are pasteurized or heat-treated after fermentation, which can affect live culture content. If having live cultures matters to you, it’s worth checking the label for phrases like “raw,” “unpasteurized,” or “contains live cultures.”
How to Start Eating Fermented Foods
If all of this feels like a lot at once, here’s the good news: there’s no need to suddenly eat large amounts of fermented food every day. In fact, starting small tends to be more comfortable and more sustainable.
I’d suggest picking one fermented food, trying a small serving, and seeing how it fits into your routine before adding more. Everyone’s preferences and tolerance are a little different, so it’s worth experimenting to find what actually works for you.
Some easy ways to start:
- Add a spoonful of sauerkraut to a lunch bowl or sandwich
- Eat plain yogurt with berries and a bit of honey
- Blend kefir into a morning smoothie
- Serve fermented carrots or pickles as a simple side dish
- Stir a spoonful of miso into salad dressings or soup instead of salt
Small, consistent habits are usually easier to stick with than trying to overhaul your entire diet overnight.
Common Questions
What are fermented foods?
Fermented foods are foods transformed by beneficial bacteria or yeast over time, such as sauerkraut, yogurt, kefir, kimchi, and fermented pickles.
Are fermented foods good for gut health?
Many fermented foods contain live cultures, and eating foods with live cultures can be part of a varied, balanced diet that supports overall digestive wellbeing. They aren’t a guaranteed fix for digestive issues, though.
Which fermented foods contain probiotics?
Foods like unpasteurized sauerkraut, kefir, live-culture yogurt, kimchi, and traditionally fermented pickles typically contain live bacterial cultures, often referred to as probiotics.
Can I make fermented foods at home?
Yes. Many fermented foods, including sauerkraut, fermented carrots, kefir, yogurt, and pickles, can be made at home with basic ingredients and simple equipment.
How often can you eat fermented foods?
There’s no fixed rule. Many people start with small servings a few times a week and adjust based on how their body responds.
What is the easiest fermented food for beginners?
Sauerkraut is often considered the easiest starting point, since it only requires cabbage and salt.
What is the difference between fermented and pickled foods?
Fermented foods develop through natural bacterial or yeast activity over time, while quick pickled foods are typically made by soaking food in vinegar without a fermentation process.
Do all fermented foods contain live cultures?
No. Some fermented products are pasteurized or heat-treated after fermentation, which can reduce or eliminate live cultures. Checking the label is the easiest way to know.
Final Thoughts
When I first started looking into the best fermented foods for a healthy gut, the whole topic sounded complicated and a little intimidating. After actually trying a few recipes, I realized how approachable fermentation really is — most of it comes down to basic ingredients, a clean jar, and a bit of patience.
Supporting your gut doesn’t have to mean overhauling your entire lifestyle overnight. Small, sustainable habits, like adding a spoonful of sauerkraut to lunch or swapping in homemade yogurt a few times a week, tend to be much easier to stick with long term.
If you’d like more practical ideas, simple recipes, and everyday habits for supporting digestion and a balanced gut, take a look at my Gut Health Guide. It’s full of additional recipes and practical tips you can start using right away. I’d love for you to check it out and let me know which fermented food you try first!
Leave a Reply