
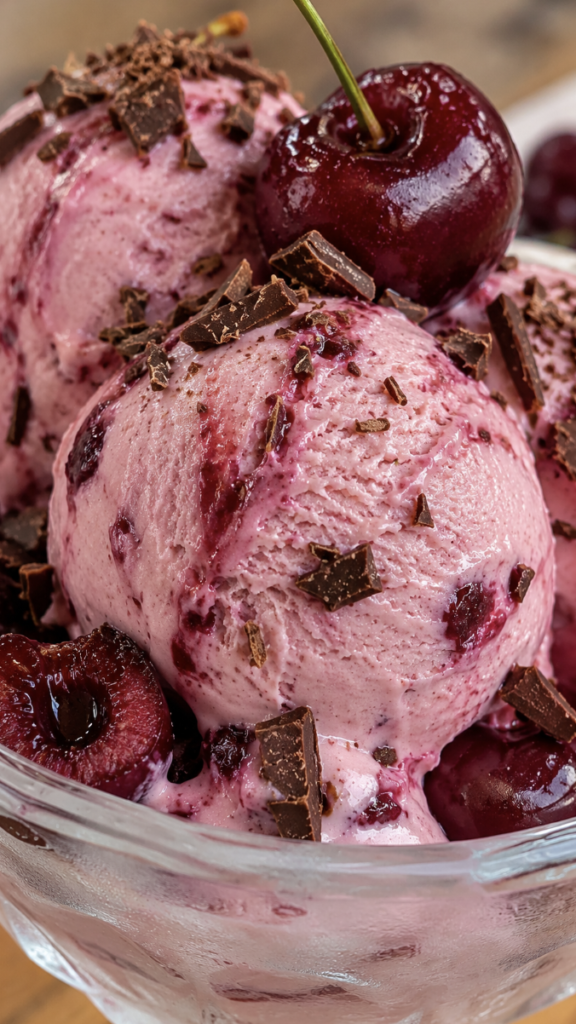
Some of my favorite memories are made in the kitchen, especially when I am creating simple homemade desserts with fresh seasonal ingredients. Whenever I see beautiful ripe cherries at the market, I already know what I am going to make. This homemade cherry ice cream has become one of my absolute favorite recipes because it is incredibly creamy, naturally fruity, and surprisingly easy to prepare. I always look forward to making it, especially during the summer months when cherries are at their sweetest and most flavorful.
I love that I can make this recipe from scratch using real ingredients, without relying on artificial flavors or unnecessary additives. The fresh cherries give the ice cream a vibrant color, a delicious aroma, and a naturally sweet taste that makes every bite feel refreshing. It is one of those desserts that always brings a little happiness to the table, whether I am serving it to my family, friends, or simply treating myself after a long day. I hope this recipe inspires you to make your own homemade cherry ice cream and enjoy every creamy, fruity spoonful just as much as I do. 🍒🍨
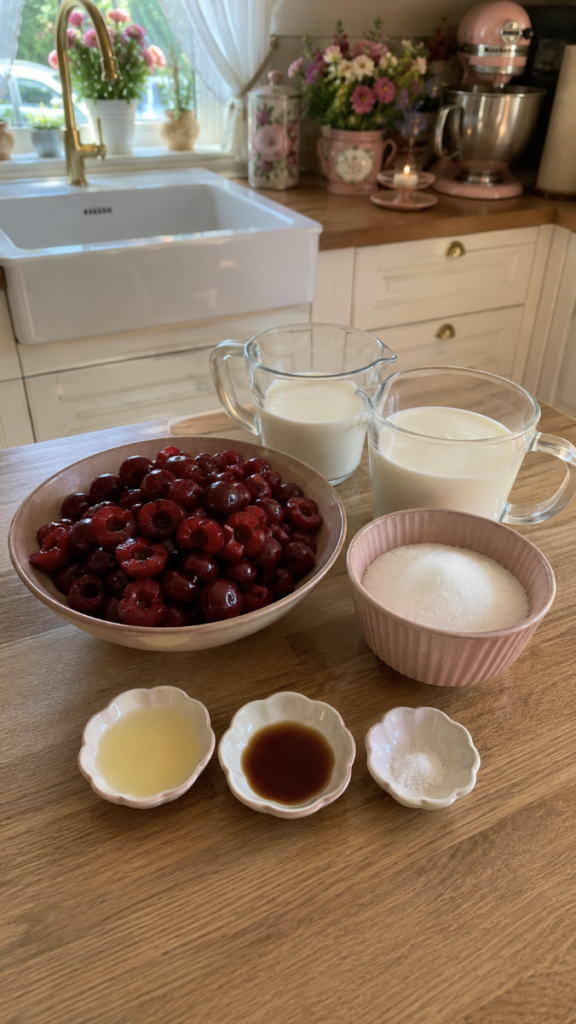
Ingredients
- 500 g fresh sweet cherries, pitted
- 250 ml heavy cream
- 250 ml whole milk
- 120 g granulated sugar
- 1 tbsp freshly squeezed lemon juice (15 ml)
- 1 tsp pure vanilla extract (5 ml)
- 1 pinch of fine sea salt (about 1 g)
Step 1:
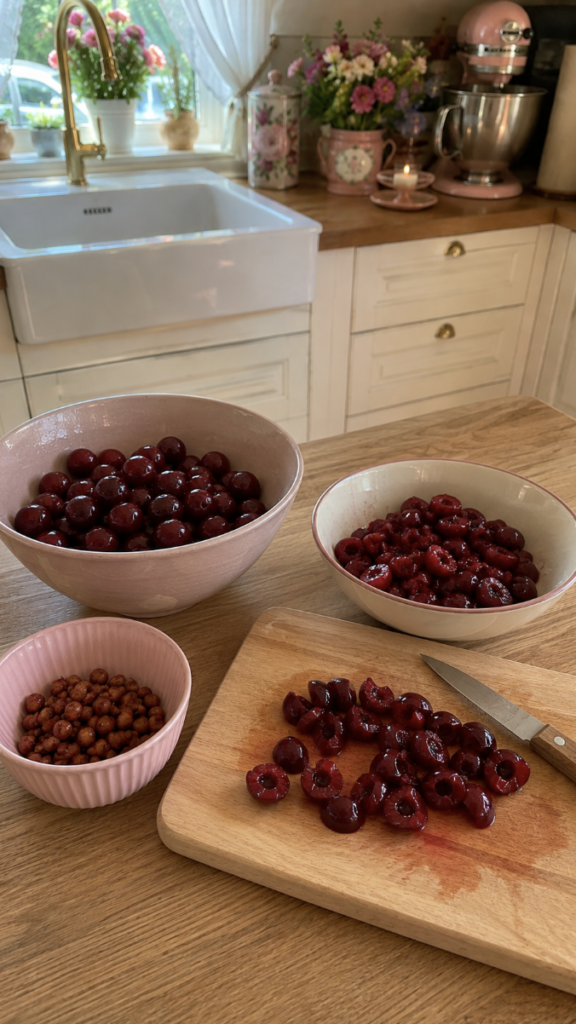
I begin by washing the cherries carefully under cold water, because I want the fruit to taste fresh, clean, and naturally sweet in my homemade cherry ice cream. Then I remove the pits and cut the cherries into smaller pieces, so the fruit can release more juice and flavor later. I always take my time with this step, because good preparation makes the ice cream taste more intense, fruity, and homemade.
Step 2:
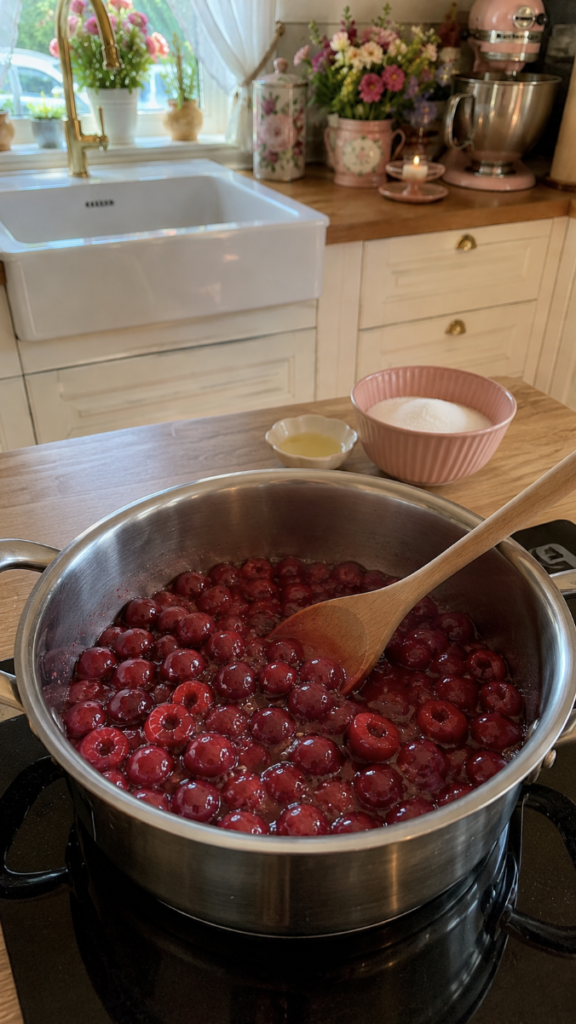
I place the cherries in a saucepan together with the sugar and lemon juice. Then I warm everything gently over medium heat until the cherries become soft, glossy, and juicy. The sugar helps create a sweet cherry syrup, while the lemon juice makes the flavor brighter and fresher. I stir often, because I do not want the fruit to burn, and I love when the kitchen slowly starts to smell like warm cherries.
Step 3:
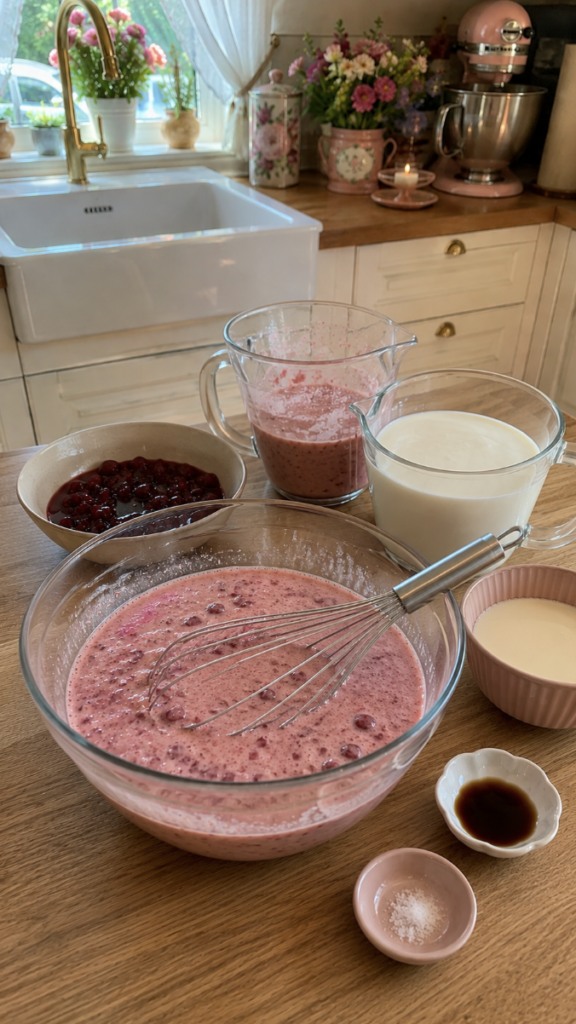
After cooking, I let the cherry mixture cool completely, because warm fruit would melt the cream and make the texture less smooth. I blend most of the cherries until creamy, but I like to leave a few small pieces inside, because they make the ice cream feel more natural and give every spoonful little fruity surprises. Then I mix the cherries with heavy cream, whole milk, vanilla extract, and sea salt. The cream makes the ice cream rich and silky, the milk keeps it lighter, the vanilla adds warmth, and the salt makes the cherry flavor taste stronger.
Step 4:
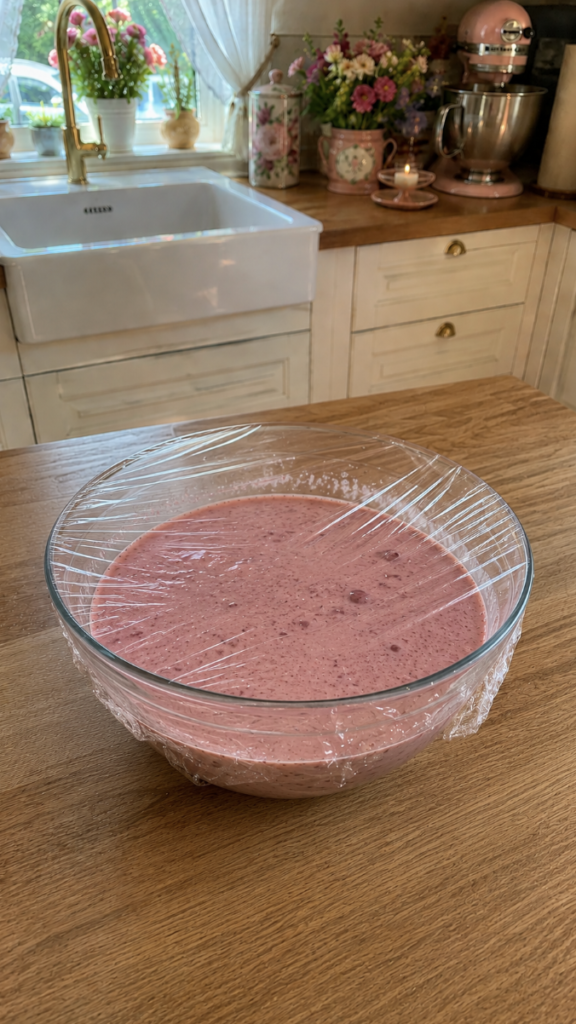
I cover the mixture and place it in the refrigerator for at least 3 to 4 hours. I never skip this step, because a cold ice cream base freezes much better and becomes smoother in the ice cream maker. When the mixture is well chilled, it forms fewer ice crystals and turns into a creamier dessert. If I want the cherry ice cream to taste more luxurious, I replace a little milk with extra cream, because that makes it softer, richer, and more elegant.
Step 5:
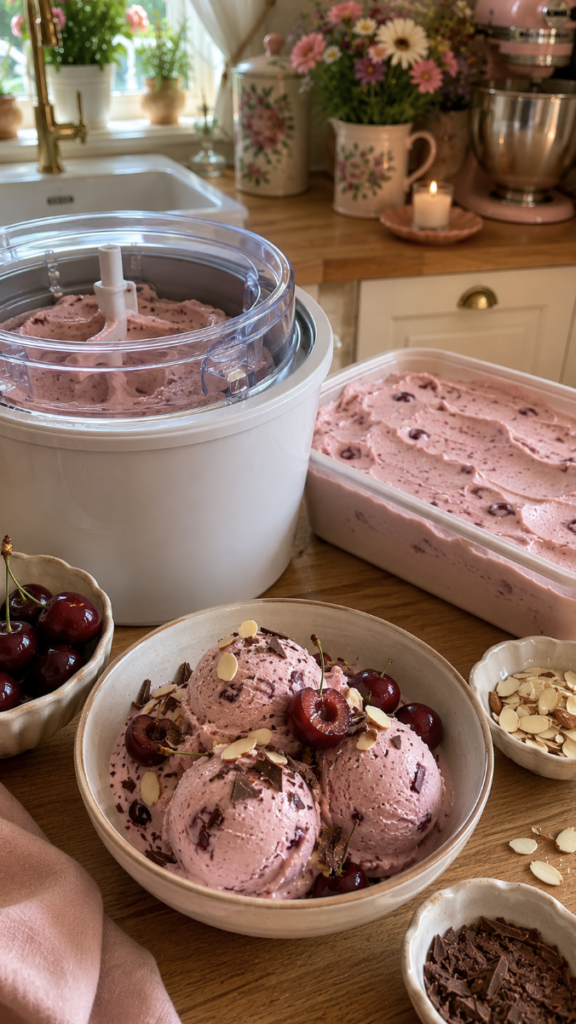
I pour the cold mixture into my ice cream maker and churn it until it becomes thick, creamy, and soft like fresh gelato. Then I transfer it into a freezer-safe container and freeze it for 2 to 4 hours, so it becomes firm enough to scoop beautifully. Before serving, I love adding fresh cherries, dark chocolate shavings, or roasted almonds on top. The cherries make it look fresh, the chocolate gives a deep flavor contrast, and the almonds add a lovely crunch, turning this simple homemade cherry ice cream into a beautiful summer dessert.
Benefits of Homemade Cherry Ice Cream
One of the reasons I love this homemade cherry ice cream is that it is made with fresh, natural ingredients, so I know exactly what goes into every scoop. Fresh cherries are naturally rich in antioxidants and vitamin C, which help support the body’s natural defenses and contribute to overall well-being. They also contain fiber, which can help you feel satisfied for longer and supports healthy digestion. Because this recipe is made at home, I can control the amount of sugar and use high-quality ingredients without unnecessary artificial colors or preservatives.
I also love how refreshing and light this dessert feels on a warm day. The natural sweetness of the cherries means I do not need excessive amounts of sugar, and the creamy texture makes it feel indulgent while still being made with real fruit. Enjoyed in moderation and as part of a balanced diet, this homemade cherry ice cream can be a delicious treat that satisfies sweet cravings without feeling overly heavy. It leaves me feeling refreshed, happy, and pleasantly satisfied, making it a wonderful dessert for summer or whenever I want something fruity and creamy.
| Nutrition | Per Serving |
|---|---|
| Calories | 225 kcal |
| Carbohydrates | 22 g |
| Protein | 2.5 g |
| Fat | 15 g |
| Saturated Fat | 9 g |
| Cholesterol | 50 mg |
| Fiber | 1.5 g |
| Sugar | 20 g |
| Sodium | 35 mg |
| Vitamin C | 8 mg |
| Calcium | 70 mg |
| Potassium | 170 mg |
Storage Tips
I like storing my homemade cherry ice cream in a shallow, airtight freezer-safe container because it freezes evenly and is much easier to scoop later. A BPA-free plastic container or a stainless steel ice cream container with a tight-fitting lid works best, as it helps keep the ice cream fresh and prevents freezer burn. Before closing the container, I like to press a piece of parchment paper or plastic wrap directly onto the surface of the ice cream, which helps reduce ice crystals and keeps the texture extra smooth and creamy.
Store the ice cream in the coldest part of the freezer at -18°C (0°F) or below. For the best flavor and creamy consistency, enjoy it within 2 to 3 weeks, although it can be safely stored for up to 1 month. Before serving, let the ice cream sit at room temperature for 5 to 10 minutes, so it softens slightly and becomes perfectly creamy and easy to scoop. Avoid refreezing melted ice cream, as this can affect both the texture and the overall quality.
I hope you enjoy making this homemade cherry ice cream as much as I do. It is creamy, fruity, refreshing, and made with simple ingredients that come together to create a delicious dessert everyone will love. Whether you serve it on a warm summer day, at a family gathering, or simply as a sweet treat after dinner, it is always a wonderful choice. One of my favorite things about this recipe is how easy it is to customize with different toppings or even other fresh fruits to create your own unique version.
If you try this recipe, I would love to hear how it turned out for you! Feel free to share your ideas, favorite variations, or any helpful tips in the comments below. Your suggestions and creative twists might inspire other readers to try something new. Happy cooking, and enjoy every creamy, fruity spoonful! 🍒🍨
Leave a Reply