
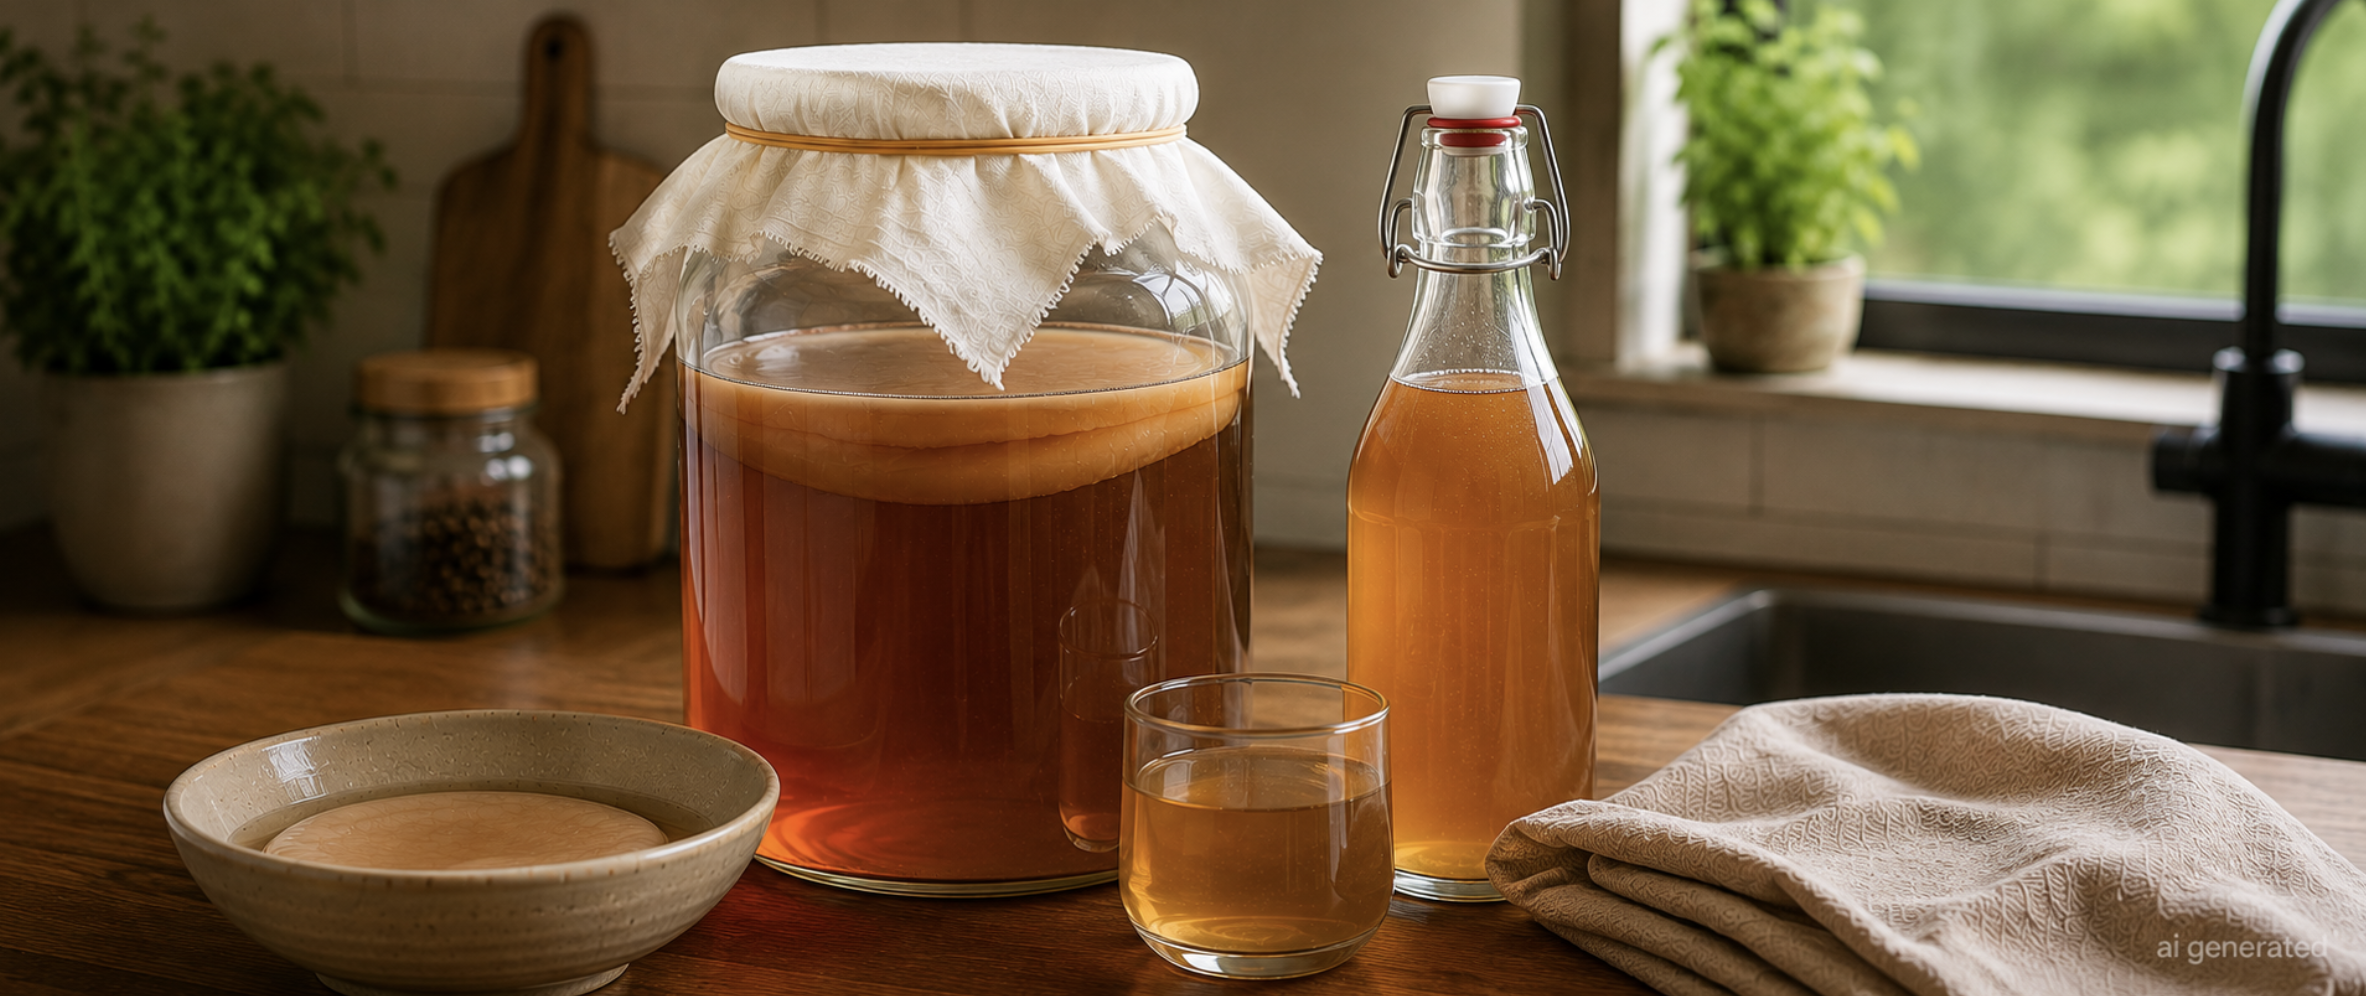
I have to be honest with you — kombucha isn’t something I discovered on some wellness blog. It’s something I grew up with. My grandmother kept a big glass jar on top of her kitchen cabinet, this slightly mysterious, cloudy, rubbery-looking disc floating inside it. I remember asking her once what “that thing” was, and she just laughed and said, “That’s what makes my tea taste alive.”
It took me years before I finally asked her to teach me properly. And once she did, I realized how simple and natural the whole process actually is — just tea, sugar, water, and a living culture, nothing more.
This is her recipe, almost exactly as she taught it, and it’s become one of my absolute favorite fermented drinks to make at home. A single bottle at the store easily costs $4–5, so making my own batch for a fraction of that has been one of the easiest, most natural swaps I’ve made.
What You’ll Need
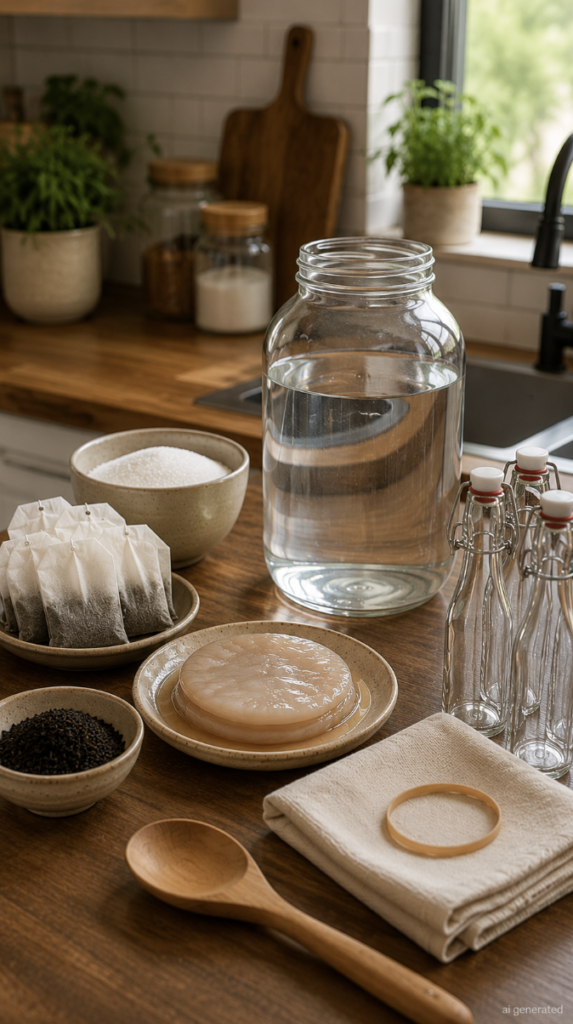
Ingredients:
- 3.5 quarts (about 3.3 liters) filtered water
- 1 cup (200g) white granulated sugar
- 8 bags black tea, or 2 tablespoons loose-leaf black tea
- 1 SCOBY (Symbiotic Culture of Bacteria and Yeast)
That’s genuinely it. No powders, no supplements, no artificial cultures — just tea, sugar, water, and a naturally grown culture.
A quick, honest note on the SCOBY: A SCOBY always comes attached with its own liquid, called starter liquid — it’s simply the tangy kombucha it grew in. This isn’t a separate “store product” you need to buy; it’s a completely natural part of the culture itself, the same way a sourdough starter always comes with its own liquid. If a friend gives you a SCOBY (which is extremely common — people share them all the time, exactly like sourdough starters), it will already come with 1–2 cups of this liquid. If you’re starting completely from scratch with no SCOBY on hand, the only fully natural substitute is plain distilled white vinegar (about ½ cup) added to the sweet tea before adding the SCOBY — it does the same natural acidifying job.
Equipment:
- A large glass jar (1-gallon size works well)
- A tightly woven cloth or coffee filter, plus a rubber band
- A wooden or plastic spoon (avoid metal touching the SCOBY)
- Glass bottles for storage, if bottling for a second ferment
How to Make It: 5 Simple Steps
Step 1: Brew your tea.
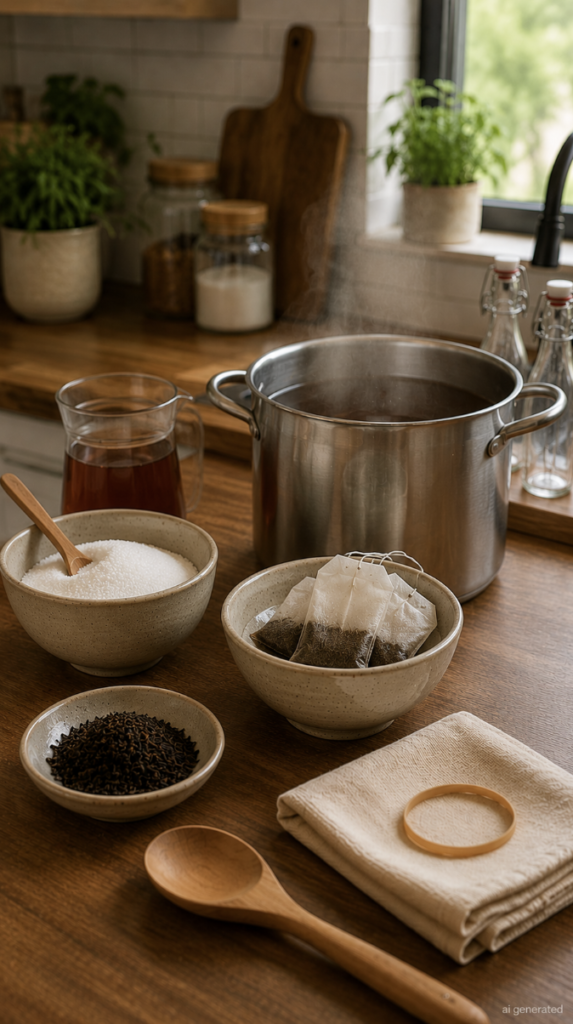
Bring the water to a boil, remove from heat, and add your tea along with the sugar. Stir until the sugar fully dissolves. Let it steep for 10–15 minutes, then remove the tea bags or strain the leaves.
This part always reminds me of my grandmother’s kitchen — the smell of black tea steeping instantly takes me back.
Step 2: Let the tea cool completely.
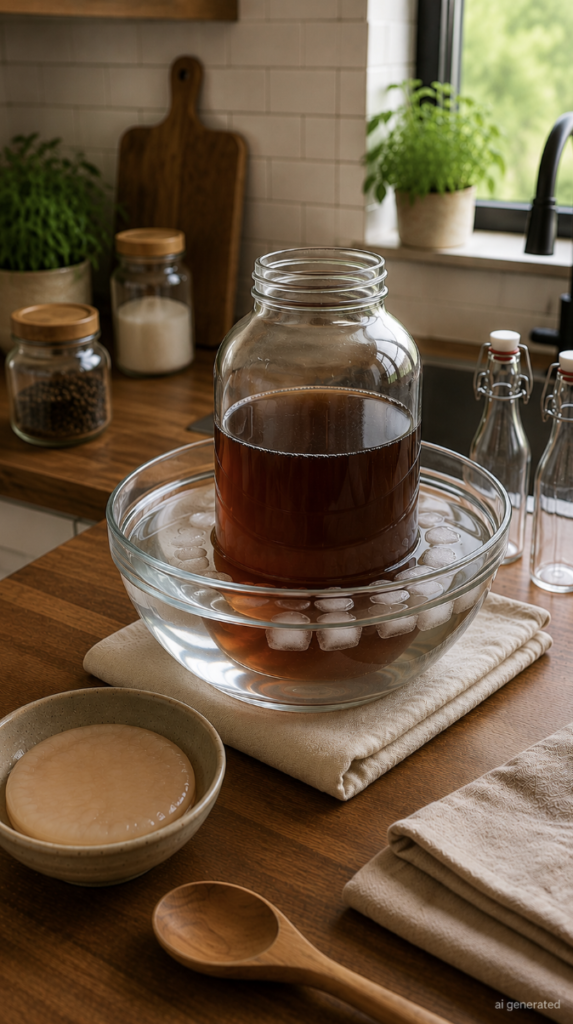
This matters more than people think. The tea needs to reach room temperature before the SCOBY goes in, since hot liquid can damage it. I usually let mine sit for a couple of hours, or speed it up with a cold water bath.
Step 3:
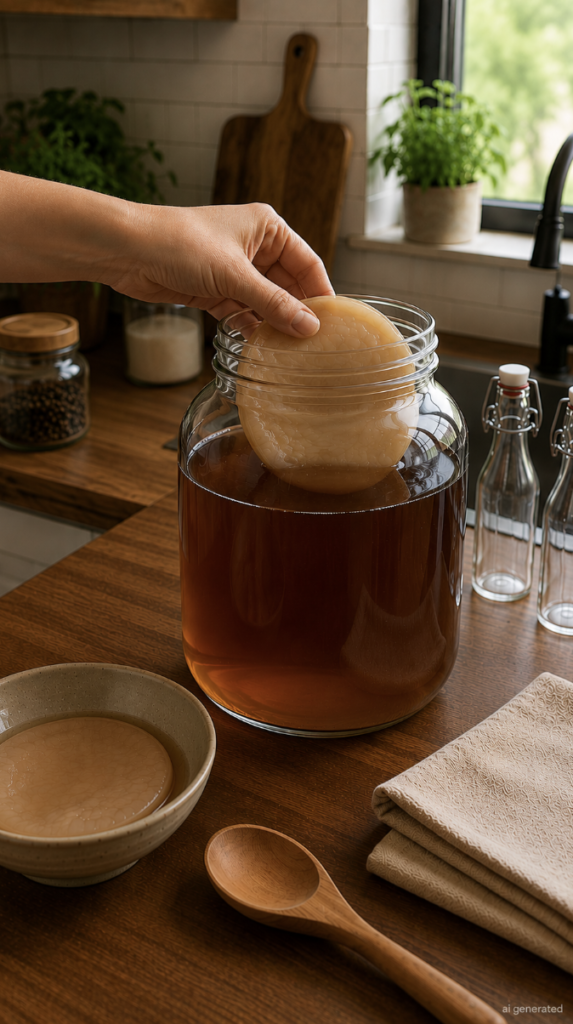
Add the SCOBY with its natural starter liquid (or vinegar, if starting from scratch).
Pour the cooled tea into your jar, add the SCOBY along with the liquid it came with, and gently place it on top with clean hands. Don’t worry if it sinks or floats sideways — completely normal.
Step 4:
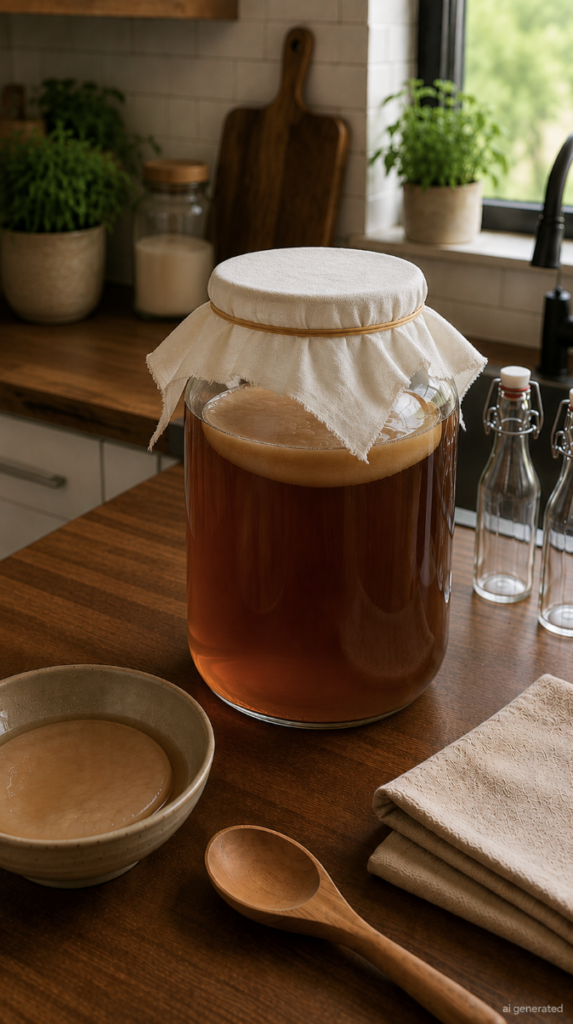
Cover and let it ferment.
Cover the jar with your cloth or coffee filter, secured with a rubber band, so the culture can breathe. Place it somewhere at room temperature, out of direct sunlight, and let it sit.
Step 5:
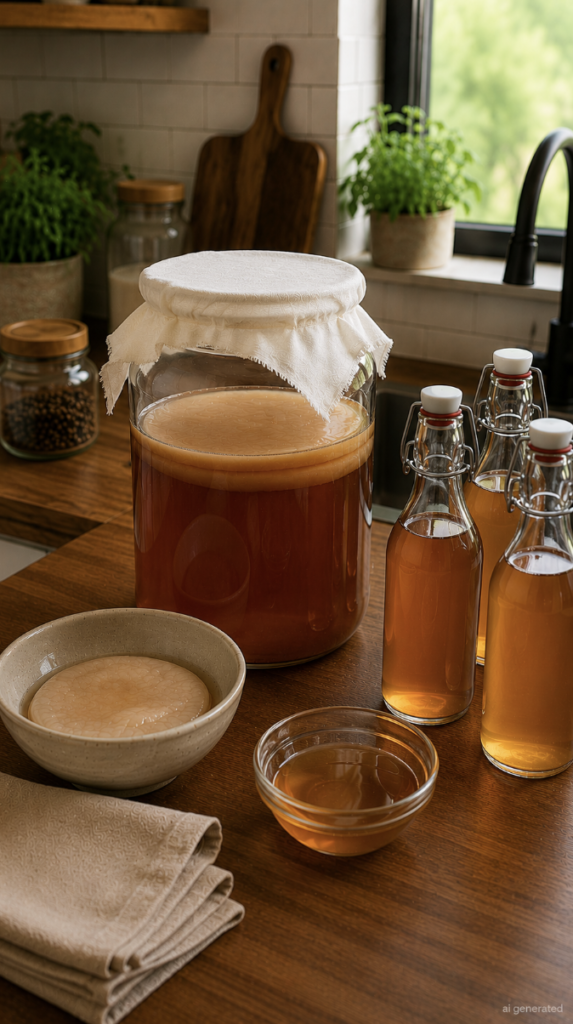
Taste-test and bottle.
After about 7 days, start tasting daily with a clean straw. Once it hits the tangy-sweet balance you like, remove the SCOBY (with a bit of liquid, to start your next natural batch) and bottle the kombucha. For natural fizz, seal it in airtight bottles for 2–3 more days at room temperature before refrigerating.
Fermentation time: 7–14 days, plus 2–3 optional days for carbonation.
Mistakes to Avoid
- Using metal utensils or containers — the acidity can react with metal and damage the culture.
- Adding the SCOBY to tea that’s still warm — one of the most common beginner mistakes.
- Skipping the starter liquid or vinegar entirely — this is what naturally protects your first batch from mold.
- Sealing the jar completely during the first ferment — the culture needs airflow.
- Letting it ferment too long without tasting — it turns sharply vinegary past a certain point.
Food Safety: What to Watch For
A healthy SCOBY is pale, beige, or slightly yellow-brown, and brown, stringy yeast strands underneath are completely normal — not mold. What you should never ignore: fuzzy mold spots (blue, green, black, or white and fuzzy), a foul or rotten smell instead of a tangy vinegar one, or unusual coloring that wasn’t there before. If you see true mold, discard the whole batch, SCOBY included, and start fresh.
How to Store It
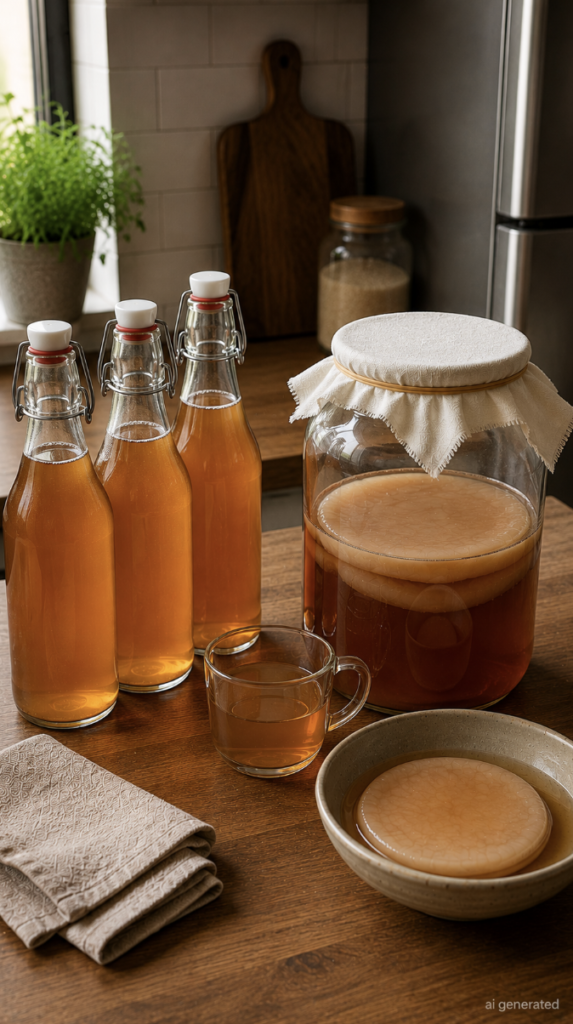
Bottled kombucha keeps in the fridge for 1–2 months, developing more tang over time. Your ongoing SCOBY and a cup of liquid can be kept at room temperature to start your next batch, or stored in a simple jar (sometimes called a “SCOBY hotel”) as a natural backup.
A Few More Tips
- For a natural flavor twist, I sometimes add fresh ginger slices or a handful of berries during bottling for a second, naturally flavored ferment.
- Room temperature matters — warmer kitchens ferment faster, cooler ones take longer than the average 7–10 days.
- Always save a little liquid from every batch. It keeps the whole process fully natural and self-sustaining, batch after batch, without ever needing anything from a store again.
How It Tastes (and How I Feel After)
Homemade kombucha, done right, has this tart, slightly vinegary tang balanced with natural sweetness that store-bought versions rarely get right. My grandmother’s batches always had a faint, natural apple-cider-like quality I still haven’t fully replicated.
I won’t claim it transforms how I feel — but I genuinely enjoy it as a small part of my afternoon, knowing exactly what went into it, start to finish, with nothing artificial along the way.
My Final Thoughts
Out of every fermented food I’ve learned to make, this remains my favorite — not just for the taste, but because it’s completely self-sustaining once you have your first SCOBY. Every batch grows the next one naturally, so after the very first jar, you genuinely never need to buy anything from a store again.
It’s also simply practical. A single bottle at the store costs $4–5, and making my own at home, entirely from natural ingredients I already understand, saves real money while keeping the whole process as close to my grandmother’s original jar as possible.
Leave a Reply